The Role of JavaScript in WordPress Development

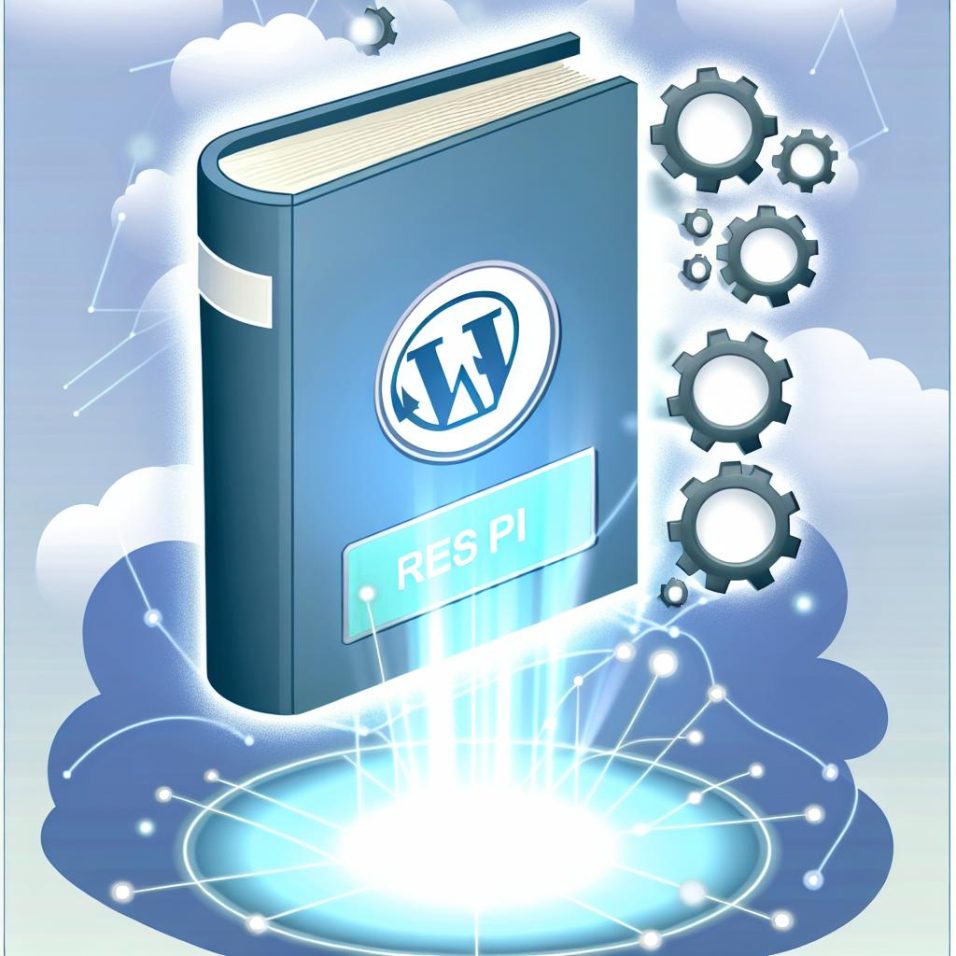
JavaScript plays a crucial role in enhancing interactivity and user experience in WordPress development, a platform traditionally built on PHP. By enabling features such as sliders, pop-ups, and form validations, JavaScript contributes to creating dynamic and engaging websites. It also facilitates the integration with the WordPress REST API, turning WordPress into a headless CMS and allowing seamless use of front-end frameworks through asynchronous data interactions.
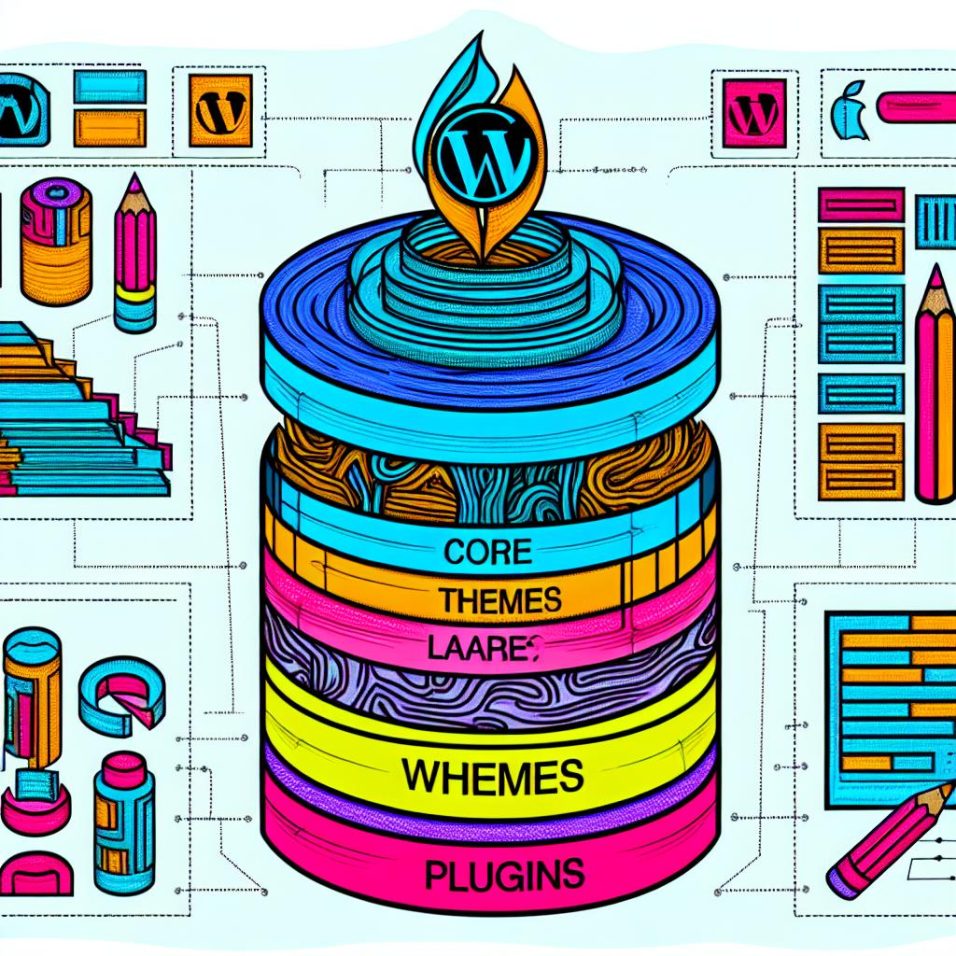
Furthermore, JavaScript offers extensive customization possibilities for themes and plugins, allowing developers to manage both client-side and server-side operations effectively. This versatility is especially evident in React or Vue-based WordPress sites.
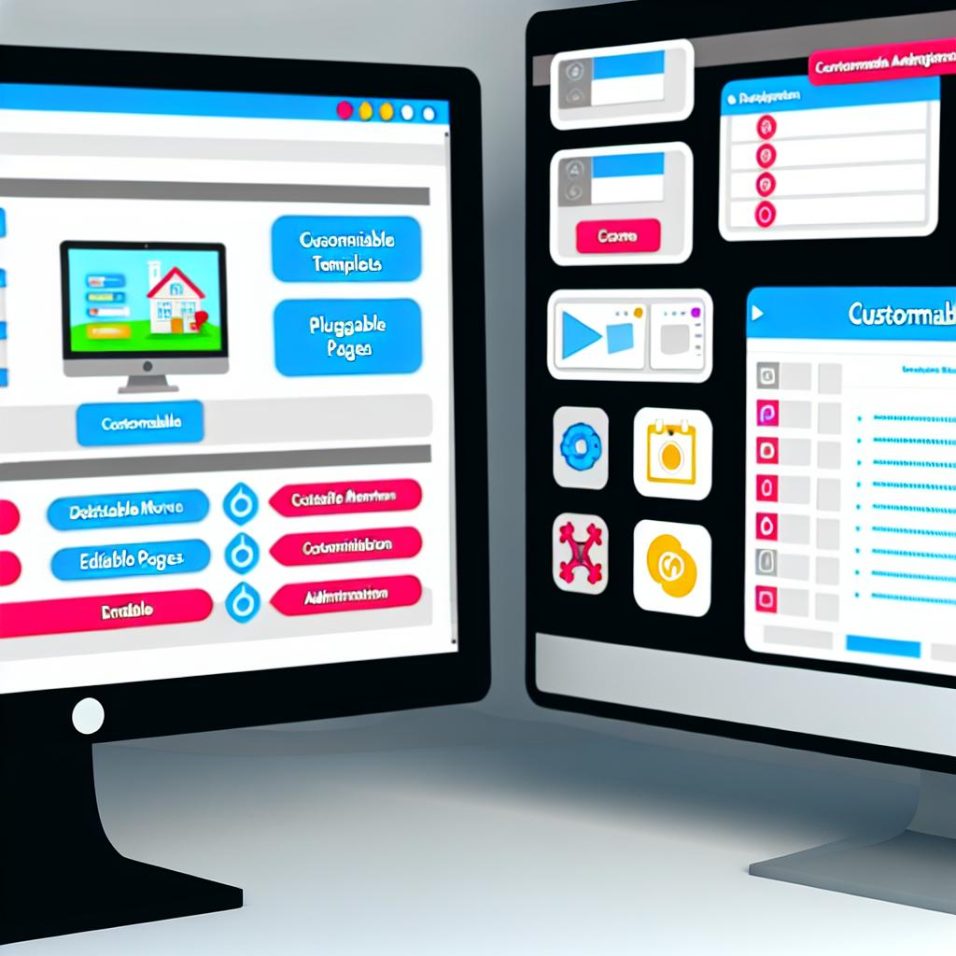
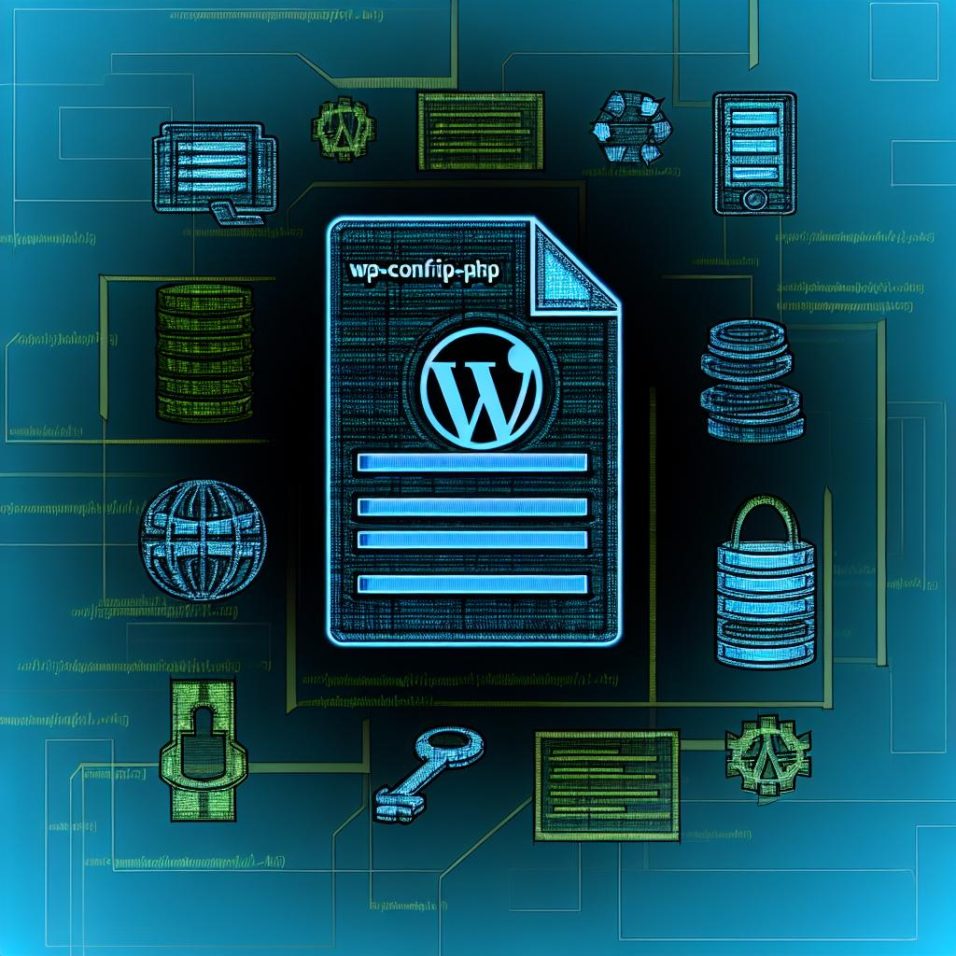
In the WordPress admin panel, JavaScript improves user experience through functionalities like drag-and-drop media uploaders and real-time theme customizer previews. Adhering to best practices in JavaScript usage, such as minifying code, properly enqueuing scripts, and ensuring compatibility and security, enhances WordPress development’s performance and protects against vulnerabilities.
As WordPress evolves, JavaScript remains vital in shaping dynamic web experiences, driving forward customizations, and enhancing both user and admin interactions. For continuous updates and resources, developers are encouraged to explore the WordPress Developer Resources and Support Forums.