How to Recover Lost WordPress Admin Access
Losing access to your WordPress admin dashboard can be daunting, but various methods can help you regain access efficiently, whether due to forgotten passwords or lost administrative privileges.
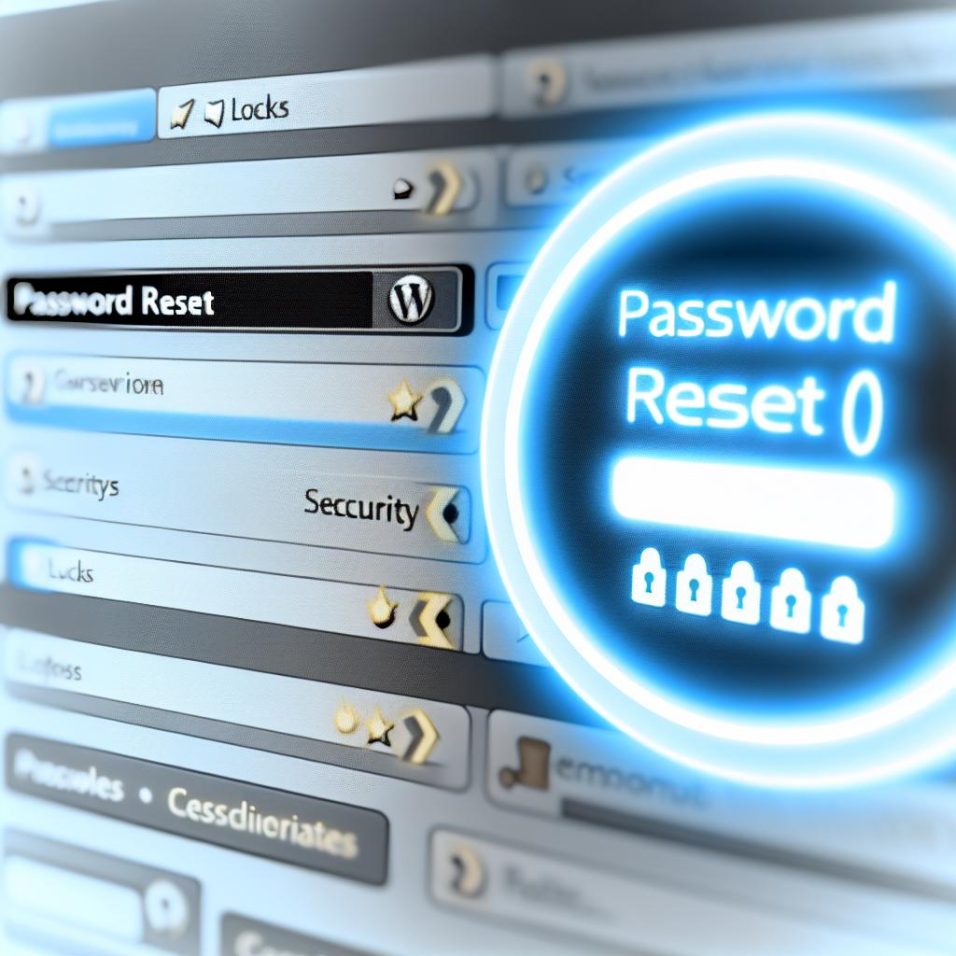
One of the simplest ways to reset your password is via email by navigating to the WordPress login page, clicking on the “Lost your password?” link, entering your username or email, and following the password reset link sent to your email. If you encounter email issues, check spam folders, verify your email association with your account, or consult your hosting provider.
Alternatively, you can manually reset your password using phpMyAdmin by editing the `wp_users` table and changing the `user_pass` field. If database access proves difficult, accessing your files through an FTP client like FileZilla can be helpful.
Sometimes, login issues may stem from plugin conflicts. To resolve this, disable plugins via FTP by renaming the `plugins` folder and then logging in. Re-enable each plugin individually to identify the culprit.
To restore administrative rights, you can edit the `functions.php` file of your active theme to create a new admin user with a code snippet. Remember to replace placeholders with your details and remove the code after regaining access.
By following these strategies, you can restore access to your WordPress admin. For ongoing issues, consult WordPress forums or seek assistance from your hosting provider’s support.