Author Archive: admin

Understanding the WordPress Customizer

Understanding the WordPress Customizer

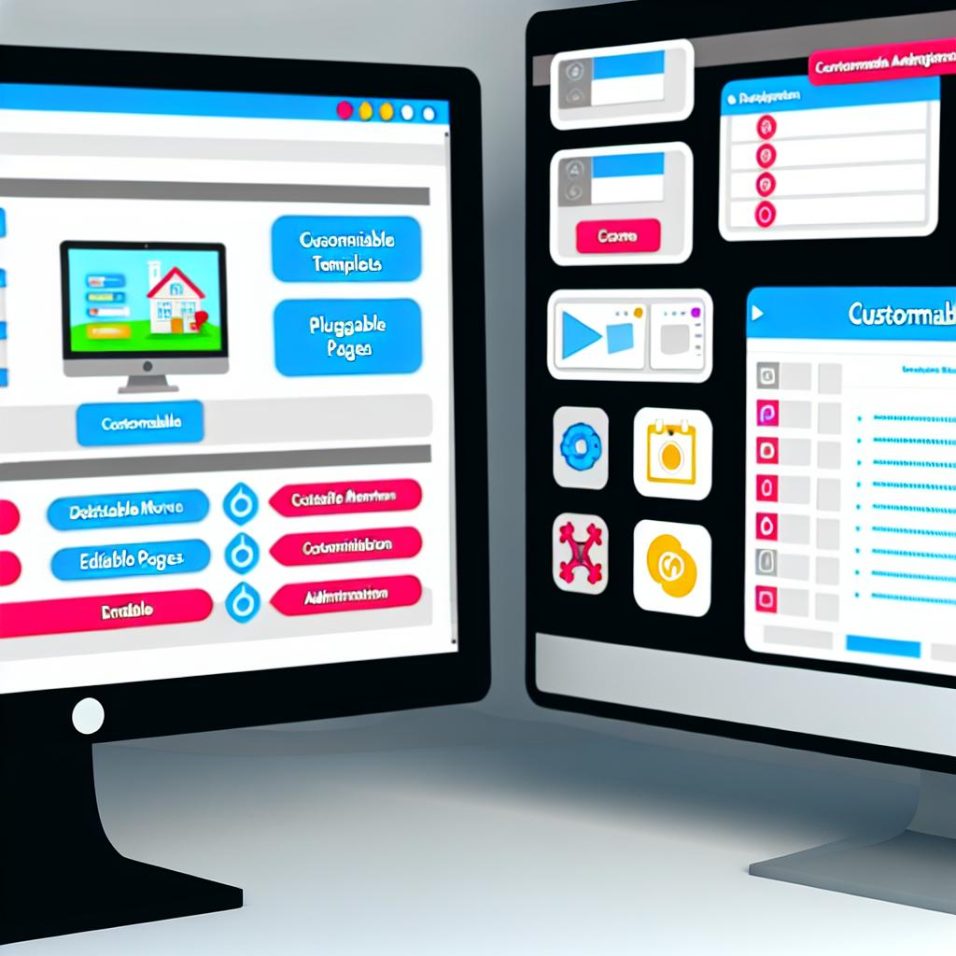
The WordPress Customizer is a versatile tool integrated into the WordPress platform, designed to simplify website appearance and settings customization through an intuitive interface and live preview feature. Accessible via the dashboard under Appearance > Customize, it allows real-time changes, ensuring precise outcomes.

Key features include site identity customization for branding essentials like title, tagline, and site icon; menu and widget management to enhance navigation and functionality; and theme options for layout and stylistic adjustments. Users can also set homepage preferences to display latest posts or a static page, catering to various focus areas like blogging or static content presentation.

The Customizer is praised for its real-time preview capabilities, user-friendly interface, and accessibility across WordPress installations. Additional plugins, such as WP Customizer Extra Controls and Customizer Export/Import, can expand its functionality further, making it a vital tool for both novice and experienced WordPress users aiming for comprehensive site customization.

How to Add Custom CSS to Your WordPress Site

How to Add Custom CSS to Your WordPress Site

**Introduction to Custom CSS in WordPress**

Custom CSS in WordPress enables you to alter your site’s appearance beyond the default theme settings, allowing for font, color, and layout changes to better align with your brand or style.

**Using the WordPress Customizer**

To add custom CSS easily, utilize the built-in WordPress Customizer:

1. Navigate to *Appearance* > *Customize* from your dashboard.
2. Select the *Additional CSS* option.
3. Type or paste your CSS code in the provided text box to see a live preview.
4. Click *Publish* to apply the changes.

**Using Theme Editors or Child Themes**

For advanced customization, consider using child themes to prevent changes from being overwritten during updates:

1. Create a folder in `/wp-content/themes/` for your child theme.
2. Inside, create a `style.css` file with the following header:

“`
/*
Theme Name: Your Child Theme
Template: parent-theme-folder
*/
“`

3. Add your custom CSS below the header.

4. Activate the child theme via *Appearance* > *Themes*.

**Plugins for Adding Custom CSS**

Plugins offer an alternative method to add custom CSS without direct file edits. Popular options include:

– [Simple Custom CSS](https://wordpress.org/plugins/simple-custom-css/)
– [WP Add Custom CSS](https://wordpress.org/plugins/wp-add-custom-css/)

To use a plugin:

1. Install and activate the plugin via *Plugins* > *Add New*.
2. Enter your CSS code in the plugin’s new admin dashboard option.
3. Save your changes.

**Conclusion**

Integrating custom CSS into WordPress expands design flexibility. Whether through the Customizer, child themes, or plugins, maintain your code to ensure longevity. For more detailed guidance, refer to the [WordPress documentation](https://developer.wordpress.org/themes/basics/adding-css/).

The Pros and Cons of WordPress for Small Businesses

The Pros and Cons of WordPress for Small Businesses

WordPress remains a popular choice for small businesses seeking an online presence due to its flexibility and extensive features. This article explores the advantages and drawbacks of using WordPress to help small business owners make informed decisions.

**Pros** include a user-friendly interface that requires minimal technical skills, extensive customization options through numerous themes and plugins, built-in search engine optimization features, and a vast community offering support and resources.

**Cons** involve the need for regular maintenance and updates to avoid security vulnerabilities, potential security risks if not properly managed, performance issues from excessive plugins or inadequate hosting, and potential costs for premium features.

Overall, while WordPress offers significant benefits, it requires commitment to manage its challenges effectively.

How to Set Up Email Notifications in WordPress

How to Set Up Email Notifications in WordPress

**Excerpt from “Understanding Email Notifications in WordPress”**

Email notifications in WordPress are essential for staying informed about your site’s activities, such as new comments or user registrations. Configuring these notifications can greatly improve site interaction and management.

**Requirements for Email Notifications Setup**

To begin setting up email notifications, you need:
– Administrative access to your WordPress website.
– A valid email address for notifications.
– Optionally, an SMTP plugin to improve email delivery.

**Steps to Set Up Email Notifications**

1. **Configure General Email Settings**: Update the primary notification email address via **Settings > General** in the WordPress dashboard.

2. **Install an SMTP Plugin**: Enhance email delivery by installing plugins like WP Mail SMTP or Easy WP SMTP through **Plugins > Add New**.

3. **Configure SMTP Settings**: Enter your SMTP host, port, encryption type, and credentials to ensure proper email delivery.

4. **Set Up Specific Notification Types**: Use plugins like Email Subscribers & Newsletters or Better Notifications for WP to customize notifications for events like new posts or user registrations.

**Testing and Troubleshooting**

After configuration, test your notification system by creating a test post or comment to ensure emails are received. If issues arise, verify your SMTP settings and check for potential plugin conflicts. Implementing these steps will enhance your site’s email notification system, allowing for more efficient site management.

How to Manage Large Media Libraries in WordPress

How to Manage Large Media Libraries in WordPress

Managing a large media library in WordPress can be streamlined using several strategies and plugins. To optimize images, tools like Imagify and Smush can compress images without losing quality, significantly reducing server load and improving site speed. For organization, plugins such as Media Library Assistant and Folders allow you to categorize and efficiently sort media files. Additionally, utilizing attachment details by including metadata like titles, alt texts, and captions improves both content management and SEO. Regular maintenance is essential; tools like Media Cleaner can help remove unused files, while Enable Media Replace allows easy file updates. By employing these methods, you can maintain an organized, efficient media library and enhance your WordPress site’s performance.

The Role of the wp-content Folder in WordPress

The Role of the wp-content Folder in WordPress

The *wp-content* folder is pivotal in WordPress, containing themes, plugins, and uploads that shape your site’s appearance and functionality. Located in the root directory, it’s accessible via a file manager or FTP. Key components include the *themes* directory, where each theme’s files determine site design, and the *plugins* folder, which enhances features. The *uploads* directory stores all files added through WordPress. Security measures such as setting permissions, preventing directory browsing, and performing regular backups are vital to protect this folder. Understanding and securing *wp-content* ensures a strong and efficient WordPress site. For more information, consult the [WordPress Support](https://wordpress.org/support/).

How to Implement a Sticky Header in WordPress

How to Implement a Sticky Header in WordPress

A sticky header is an essential web design feature that keeps the header fixed in position as users scroll, enhancing user access to navigation links and site identity. To implement a sticky header in WordPress, you can follow these steps:

1. **Choose a Suitable Theme:** Check if your current theme has built-in sticky header support by navigating to Appearance > Customize in the WordPress dashboard.

2. **Use Custom CSS:** If your theme doesn’t support it natively, you can apply custom CSS. Simply go to Appearance > Customize > Additional CSS and add the following code:

“`css
header {
position: sticky;
top: 0;
z-index: 1000;
}
“`
This code ensures that your header remains sticky as users scroll.

3. **Implement with a Plugin:** For those averse to coding, plugins like “Sticky Menu (or Anything!) on Scroll” or “My Sticky Menu” can be installed. Navigate to Plugins > Add New, search for the plugin, install, and activate it. Then, configure your sticky header settings as desired.

Implementing a sticky header through theme modification or plugins can significantly enhance your site’s navigation and usability, ensuring that users have constant access to key site features as they explore your content.

How to Add Social Media Feeds to WordPress

How to Add Social Media Feeds to WordPress

Integrating social media feeds into your WordPress site can significantly boost user engagement and extend content reach. This guide explores effective methods, beginning with the installation of WordPress plugins like Smash Balloon Social Photo Feed for Instagram, Custom Twitter Feeds for Twitter, and 10Web Social Post Feed for Facebook. Installation is straightforward via the WordPress dashboard, and configuration is accessible through the Settings menu. Alternatively, you can manually embed social media snippets directly into your WordPress using platforms’ official tools like Facebook Page Plugin or Twitter Publish.

Adding social media feeds fosters community building and drives traffic, enriching your site with dynamic, real-time content. However, it’s crucial to balance these benefits against potential issues like slowed page load times, ensuring mobile responsiveness, and adhering to data privacy concerns. Ultimately, adopting the right integration method tailored to your site can maximize engagement while maintaining performance stability.

Understanding Parent and Child Themes in WordPress

Understanding Parent and Child Themes in WordPress

### Introduction to WordPress Themes

WordPress themes are crucial for a website’s design and functionality, affecting layout, colors, and typography. Grasping the differences between parent and child themes is key for customizing and maintaining your site effectively.

#### What is a Parent Theme?

A parent theme is a standalone WordPress theme, equipped with all template files and functionalities necessary for a WordPress site. Popular themes like [Twenty Twenty](https://wordpress.org/themes/twentytwenty/) serve as parent themes.

#### Definition of a Child Theme

A child theme inherits functionality and styling from a parent theme, allowing developers to modify and customize without altering the parent theme’s files. This ensures updates to the parent theme don’t overwrite custom work.

##### Advantages of Using Child Themes

– **Easy Updates:** Custom changes remain unaffected by parent theme updates.
– **Organized Code:** Separating customizations keeps code organized and manageable.
– **Learning Opportunity:** Ideal for budding developers to experiment without risk.

##### Creating a Child Theme

1. **Create a new folder** in your site’s `/wp-content/themes/` directory, named after the parent theme with “-child.”

2. **Create a style.css file** with essential information like Theme Name and Template.

3. **Create a functions.php file** to enqueue the parent stylesheet, enabling PHP functionalities.

**Sample style.css Header:**
“`css
/*
Theme Name: Twenty Twenty Child
Template: twentytwenty
*/
“`

**Enqueuing Parent Theme Styles:**
“`php

“`

#### Best Practices for Working with Themes

– **Backup regularly**: Protect your site before implementing significant changes.
– **Document customizations**: Record changes to simplify updates and troubleshooting.
– **Test thoroughly**: Use staging environments to test changes before going live.

##### Conclusion

Understanding parent and child themes is vital for efficient WordPress development. Child themes provide flexibility and security, supporting sophisticated customizations without risking loss of work during updates. For more detailed guidance, explore [WordPress Developer Resources](https://developer.wordpress.org/themes/advanced-topics/child-themes/).

The Best Practices for Updating WordPress

The Best Practices for Updating WordPress

Maintaining an updated WordPress site is essential for security, performance, and functionality. Regular updates protect against vulnerabilities, enhance site performance, and introduce new features. To safeguard your data during updates, always back up your site using plugins like UpdraftPlus or Duplicator, ensuring both the database and files are secured. Check the compatibility of plugins and themes with the latest WordPress version by reviewing the changelog in the directory. To avoid risks, test updates in a staging environment using plugins such as WP Staging. Once everything is backed up and tested, update your WordPress core from the Dashboard, following prompts for minor releases and manually installing major updates. Post-update, review your website thoroughly to ensure all elements function correctly. Set up automatic backups for future convenience and stay informed about WordPress developments through reputable sources like WP Tavern and WordPress News. By adhering to these practices, your WordPress site will remain secure and efficient, elevating your website management strategy.