Author Archive: admin

Understanding Taxonomies in WordPress

Understanding Taxonomies in WordPress

In the WordPress ecosystem, taxonomies are vital for organizing content, often underestimated by beginners, but crucial for enhancing discoverability and user experience. Taxonomies group posts and custom post types into categories, creating a logical structure essential for content-heavy sites. WordPress provides default taxonomies: Categories and Tags. Categories are hierarchical, allowing parent-child relationships, suitable for broad topic grouping. Tags, non-hierarchical, enable multiple labels per post, enhancing searchability with optional use. Custom taxonomies address complex content structures, registered via code or plugins like Custom Post Type UI. Taxonomies suit various uses—in e-commerce, they organize products by attributes; in blogging, they arrange articles by topics or authors. Understanding taxonomies improves content display and interaction, enhancing site usability and SEO.

How to Secure a WordPress Website Against Hackers

How to Secure a WordPress Website Against Hackers

Securing your WordPress website is crucial for protecting your data and maintaining your online reputation, especially given the platform’s popularity among both legitimate users and malicious actors. Here are some essential measures to safeguard your site:

1. **Choose a Reliable Hosting Provider**: Start with a hosting provider that offers robust security features, regular backups, and 24/7 support. Managed WordPress hosting often includes additional security measures tailored to the platform.

2. **Keep WordPress Updated**: Always use the latest WordPress version to benefit from security patches addressing vulnerabilities. Apply updates promptly when notified.

3. **Update Themes and Plugins**: Ensure themes and plugins are up to date. Opt for reputable sources and regularly maintained products to minimize risk.

4. **Use Strong Passwords**: Employ complex passwords for your admin account, changing them regularly. A password manager can help with generating and storing strong passwords.

5. **Change Default Username**: Replace the default “admin” username with a unique identifier and delete the original to prevent easy access by hackers.

6. **Implement Two-Factor Authentication (2FA)**: Enhance account security by integrating 2FA using plugins designed for WordPress.

7. **Limit Login Attempts**: Use plugins to restrict login attempts and thwart brute force attacks by temporarily locking out users after exceeding the attempt limit.

8. **Utilize a Web Application Firewall (WAF)**: Implement a WAF to monitor and filter HTTP traffic, using solutions like Wordfence or Sucuri for tailored firewall features.

9. **Secure Configuration Files**: Change the directory or set permissions for important files like wp-config.php to prevent unauthorized access.

10. **Disable Directory Indexing**: Add “Options -Indexes” to your .htaccess file to hide directory contents from public view.

11. **Regularly Back Up Your Website**: Employ backup solutions like UpdraftPlus for automated backups, ensuring data protection in case of incidents.

By consistently applying these security measures and reviewing your practices, you can significantly mitigate the risks of malicious attacks on your WordPress site and maintain a secure online presence.

How to Debug a WordPress Website

How to Debug a WordPress Website

Debugging a WordPress site is crucial for maintaining its performance and security. It involves identifying and fixing errors to enhance user experience and prevent risks. This guide provides practical steps for debugging, suitable for both novices and seasoned developers.

**Enable WordPress Debugging Mode**

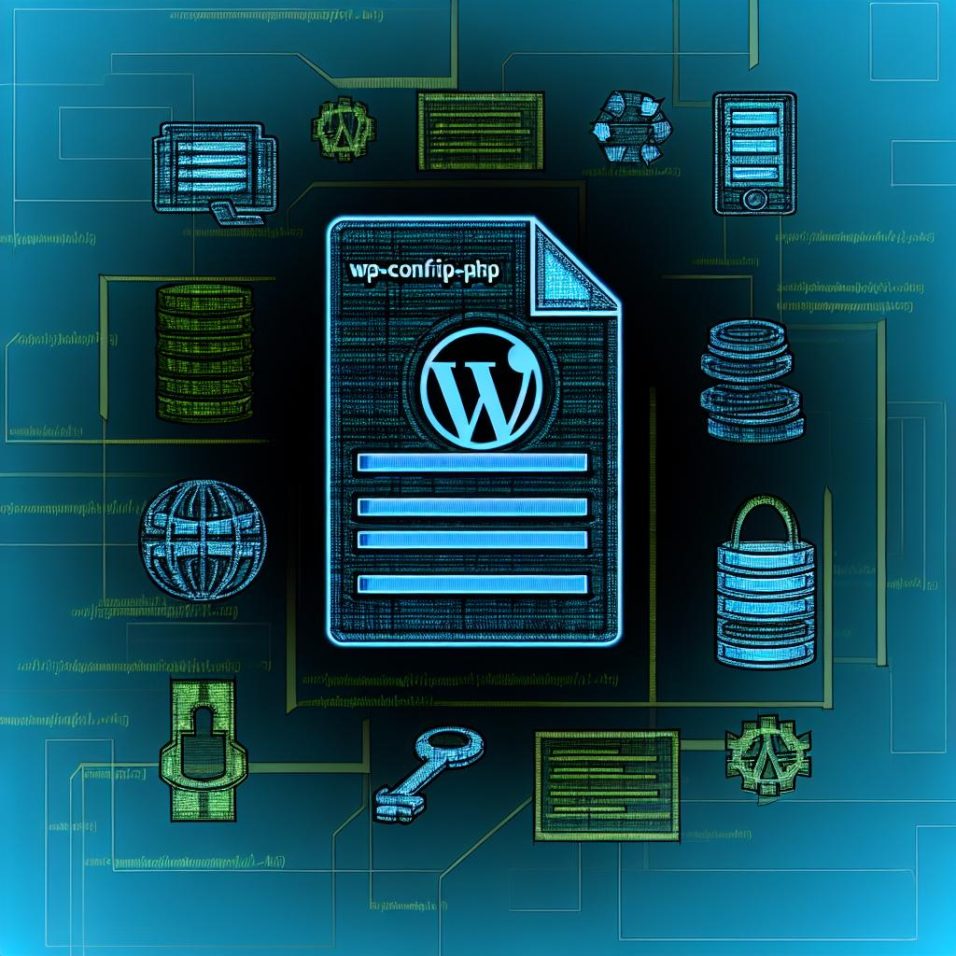
To initiate debugging, activate WordPress’s internal debugging feature via the `wp-config.php` file. Adding `define(‘WP_DEBUG’, true);` will display errors and notices, while `define(‘WP_DEBUG_LOG’, true);` logs errors to a file for production environments.

**Identify and Fix Common WordPress Errors**

Address frequent issues such as:

– **404 Errors on Posts**: Fix by resetting permalinks under Settings > Permalinks.
– **Internal Server Error (500)**: Resolve by renaming the `.htaccess` file or increasing PHP memory in `wp-config.php`.

**Deactivating Themes and Plugins**

Conflict between themes and plugins can cause problems. Diagnose by deactivating all plugins and reactivating them one by one, or switch to a default theme to identify the source.

**Examine Browser Console Errors**

Using browser developer tools can help spot JavaScript and server errors. This involves using the Console tab in the Inspect tool to find and address errors.

**Utilize Debugging Plugins**

Plugins like Query Monitor and WP Debugging provide insights into database queries and errors without editing code.

**Seek Assistance in WordPress Communities**

Engage with WordPress support forums or platforms like Stack Overflow for expert insights on complex issues.

Regular debugging ensures optimal WordPress site functionality and security. Embrace these methods and community support to enhance your troubleshooting prowess. Debugging might initially seem daunting, but with systematic troubleshooting, your site can swiftly regain optimal performance.

The Importance of Backups for WordPress Sites

The Importance of Backups for WordPress Sites

In today’s digital environment, data loss poses a significant threat to websites of all sizes, making a reliable backup solution essential for WordPress sites. The dynamic and widely used nature of WordPress amplifies the need for regular backups to provide access to the latest site version if unforeseen issues arise. Such incidents include server crashes, accidental deletions, or malicious attacks, all of which underscore the importance of a comprehensive backup strategy to restore a site to its former state, thus safeguarding data and minimizing risk over time.

Backups also serve as a critical security measure against hacks, allowing compromised sites to be swiftly restored from clean versions, ensuring minimal downtime that could otherwise lead to financial losses and diminished customer trust for businesses reliant on online operations. Furthermore, backups facilitate seamless website migration, capturing all data accurately during server transitions prompted by better hosting deals or scaling needs.

To maximize these benefits, an effective backup strategy involves determining backup frequency, selecting data types for backup, and choosing storage locations, ideally automating the process to reduce manual effort. Numerous plugins, such as UpdraftPlus, BackupBuddy, and Duplicator, offer features including automated backups and cloud storage, necessitating careful evaluation based on ease of use, cost, and support.

In conclusion, regular backups are vital for WordPress site management, helping prevent data loss, ensuring rapid recovery during disruptions, and enabling smooth migrations. A strategic backup approach secures your digital presence and offers peace of mind.

How to Set Up WordPress on a Local Server for Development

How to Set Up WordPress on a Local Server for Development

This guide outlines the process of setting up WordPress locally for development purposes. It starts with installing local server software such as MAMP, XAMPP, or WAMP, and then launching the server to ensure services like Apache and MySQL are running. Next, it involves creating a MySQL database using phpMyAdmin, downloading and extracting WordPress files to the appropriate server directory, and configuring the `wp-config.php` file with the database details. Finally, the guide explains running the WordPress installation, completing the setup, and logging in to start development. This local setup allows developers to efficiently work on WordPress sites before going live, with further resources available on the WordPress Support page.

A Step-by-Step Guide to Migrating a WordPress Site

A Step-by-Step Guide to Migrating a WordPress Site

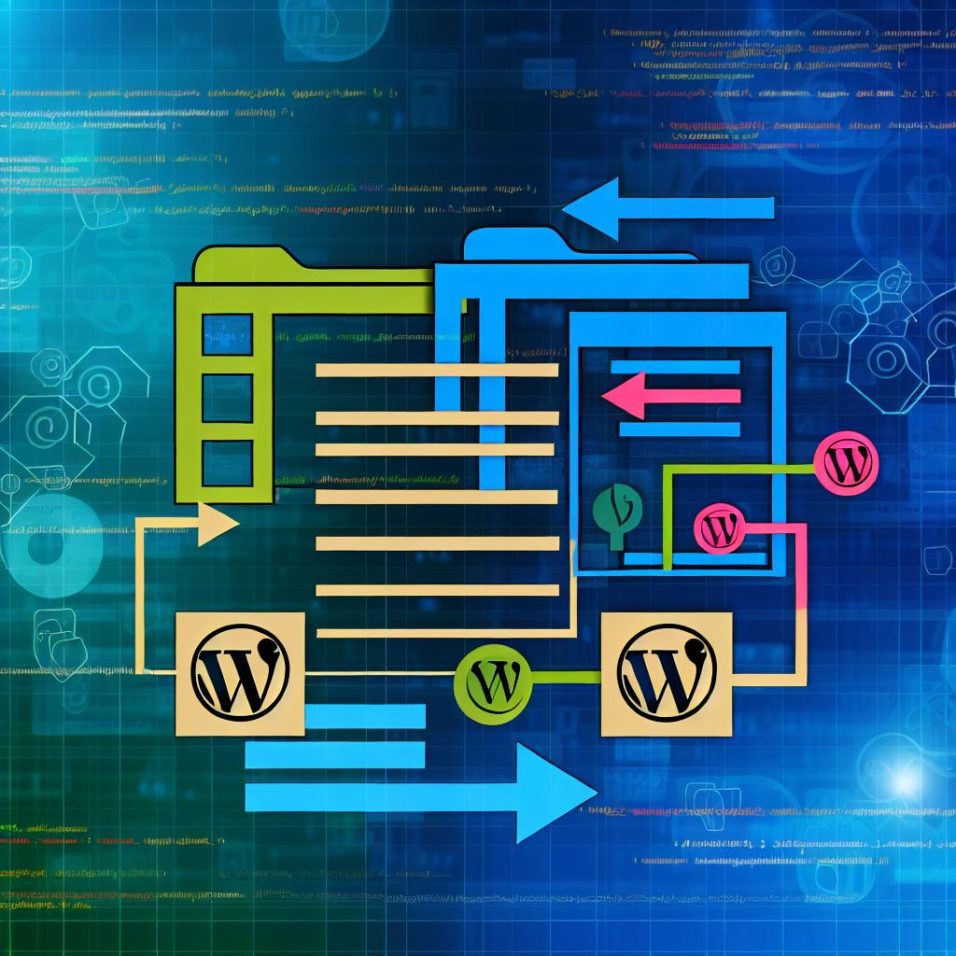
Before beginning the migration of your WordPress site, it is essential to back up your site to safeguard your data. Utilize plugins like UpdraftPlus or All-in-One WP Migration to simplify this step. It’s important to back up both your database and WordPress files. You can backup the database manually with phpMyAdmin and download your files through an FTP client.

Once backed up, select a new hosting provider that meets your needs, such as Bluehost, SiteGround, or DreamHost, and set up your new hosting environment. Create a new database within your host’s control panel and upload your WordPress files to the new provider using an FTP client.

Next, import your database backup using tools like phpMyAdmin at your new host, and update the wp-config.php file with the new database details. Update your domain’s DNS settings, allowing time for propagation, which can be monitored with tools like What’s My DNS.

After the DNS changes are effective, thoroughly test your site on the new server to identify any missing files or broken links. Perform final adjustments, remove unnecessary plugins or files, update permalinks, and configure SSL certificates if necessary. These steps should make migrating your WordPress site a smooth process.

How to Create a Custom 404 Page in WordPress

How to Create a Custom 404 Page in WordPress

**Introduction to Custom 404 Page**

A 404 error page in WordPress appears when visitors try to access a non-existent page on your site. Customizing this page can enhance user experience by offering navigation, links, or information to retain visitors. This guide provides steps to create a custom 404 page in WordPress.

**Understanding the Default 404 Page in WordPress**

The default WordPress 404 page lacks branding and helpful features for visitors. Customizing it can improve site usability.

**Step 1: Creating a Custom 404 Template**

To customize or create a new 404.php file in your theme folder:

1. Access theme files through an FTP client or hosting control panel.
2. Navigate to `wp-content/themes/your-current-theme/`.
3. Locate or create a 404.php file.
4. Edit using HTML/CSS to include branding, navigation, and helpful elements.

**Example Structure**

“`html


Page Not Found – Your Site Name

Oops! Page Not Found

We couldn’t find the page you were looking for. Here are some helpful links:

Home | Contact Us


“`

**Step 2: Optimizing Your 404 Page Content**

– Include relevant links to popular content.
– Add a search box for easy navigation.
– Use clear, concise language.
– Incorporate site branding elements.

**Step 3: Testing Your Custom 404 Page**

– Visit a non-existent URL to trigger the 404 page.
– Verify link functionality and search options.
– Ensure responsiveness across devices.

**Conclusion**

A custom 404 page enhances user experience and aids in traffic recovery. Following these steps can guide visitors effectively while maintaining professionalism. For detailed guidance, refer to the [WordPress documentation](https://wordpress.org/support/article/creating-an-error-404-page/).

The Role of the functions.php File in WordPress

The Role of the functions.php File in WordPress

The `functions.php` file in WordPress, often referred to as the theme functions file, is pivotal for customizing and optimizing a site through enhancing and extending theme capabilities. Located in the root directory of the active theme, it allows users to add custom PHP code without altering core WordPress files, enabling functionalities like custom features, modifying default behaviors, and organizing code by including external files. Developers can leverage WordPress hooks and filters within this file to run custom functions at specified points during execution.

For best practices, it’s advised to implement changes via a child theme to prevent modifications from being lost during parent theme updates. Testing in a local environment ensures functionality without errors before going live, while organizing code helps in future maintenance. Despite its power, caution is essential as errors can lead to site-wide issues. Proper backup is crucial before making changes. Understanding and utilizing the `functions.php` file effectively can considerably enhance the functionality of WordPress sites.

WordPress Shortcodes: What They Are and How to Use Them

WordPress Shortcodes: What They Are and How to Use Them

### Understanding WordPress Shortcodes

WordPress shortcodes are small bits of code that enable users to perform complex programming tasks with ease. Enclosed in square brackets, such as `[shortcode]`, they allow the addition of dynamic content to posts, pages, and widgets without extensive coding expertise.

#### The Origin and Purpose of Shortcodes

Shortcodes were introduced in WordPress version 2.5 to enable users to add custom functionality easily. They allow the embedding of files, object creation, and styling applications that would otherwise need technical skills or lengthy HTML or PHP code.

#### How Shortcodes Work

When a post or page with a shortcode is rendered, it’s replaced with output from the corresponding function. For instance, a gallery shortcode triggers a function that generates and displays a photo gallery.

### Using Pre-Built WordPress Shortcodes

WordPress offers built-in shortcodes catering to various needs without requiring external plugins.

#### Common Default Shortcodes

– **Gallery**: `[gallery]` for image galleries.
– **Audio**: `[audio]` for embedding audio files.
– **Video**: `[video]` for local video files.
– **Caption**: `[caption]` to add captions to images.
– **Embed**: `[embed]` for embedding content like YouTube videos via URLs.

### Adding Custom WordPress Shortcodes

WordPress also supports custom shortcode creation, allowing personalized site functionality.

#### Steps to Create a Custom Shortcode

Edit your theme’s `functions.php` file, define a function for what the shortcode should do, and register it with WordPress:

“`php
function custom_shortcode() {
return ‘

This is a custom shortcode.

‘;
}
add_shortcode(‘my_shortcode’, ‘custom_shortcode’);
“`

This registers `[my_shortcode]`, outputting specific HTML when used. Additional attributes can be added for more functionality.

#### WordPress Plugin for Shortcodes

Plugins like [Shortcodes Ultimate](https://wordpress.org/plugins/shortcodes-ultimate/) offer extensive built-in shortcodes and customization options.

### Best Practices for Using Shortcodes

Shortcodes should be used carefully to maintain website performance and readability.

#### Considerations and Recommendations

– **Performance**: Avoid overusing shortcodes to prevent slowing down the site.
– **Maintenance**: Shortcodes rely on theme or plugin functions; issues can occur if these are altered or removed.
– **Documentation**: Document custom shortcodes well for easier maintenance and collaboration.

### Conclusion

Shortcodes are a robust feature in WordPress that allows adding complex elements and functions easily. Using them effectively can enhance a website’s dynamic nature, meeting user and business needs. Whether using default or custom solutions, understanding their implementation and best practices ensures maximum benefit.

How to Set Up a Multi-Site Network with WordPress

How to Set Up a Multi-Site Network with WordPress

A WordPress Multi-Site Network enables you to efficiently manage multiple sites from one WordPress installation, ideal for hosting several websites or accommodating language and regional variations. To set it up, ensure your hosting supports WordPress Multi-Site, update WordPress to the latest version, and have server access via FTP or cPanel.

To begin, update the `wp-config.php` file to allow multi-site capability. Use the WordPress Admin Dashboard to configure network settings, choosing between sub-domains or sub-directories for site structure. After installing, modify both `wp-config.php` and `.htaccess` files following the setup instructions provided.

Access your Network Dashboard by logging back into WordPress, where you can manage the network, create new sites, and administer user roles and plugins. Common issues include ensuring proper domain mapping, SSL certification for sub-domains, and Nginx configuration adjustments if needed.

Overall, a Multi-Site Network offers a centralized management system for multiple websites, enhancing scalability and control across your WordPress installations.